How to Install Python 3.14 with uv
Last updated: July 16, 2026 · Covers: Python 3.14 · By: Michael Kennedy, host of the Talk Python To Me podcast
tl;dr; To install Python 3.14 on Windows, macOS, or Linux, you run two commands: first install uv, then run uv python install 3.14 --default. That's the whole process - no installer wizard, no decision tree, no editing your PATH, and the same two steps on every operating system. Copy-paste instructions for each platform are below.
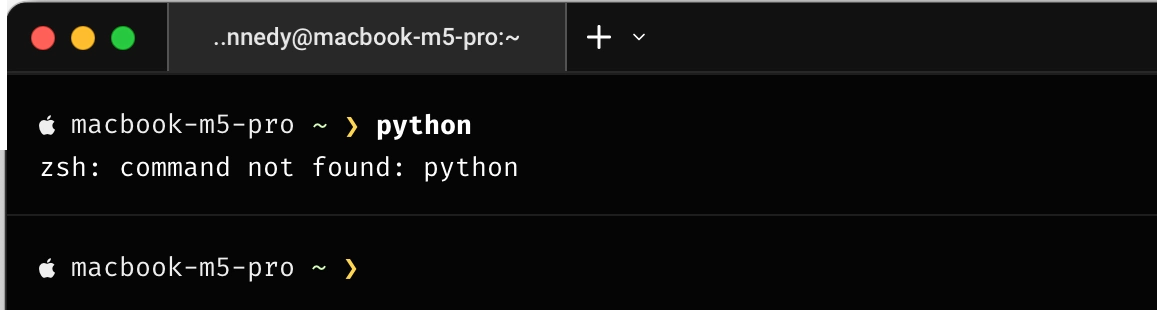
Welcome, soon-to-be Python user! Python is one of the easiest programming languages to learn and grow with. But there can be a bump right at the beginning: making sure you have Python installed with a sufficiently new version (3.14 is the current release, and it's what we'll install below).
The good news is that these days, installing Python is incredibly simple thanks to uv, a blazing-fast Python package and project manager that also handles Python installation. With uv, you get one tool that works the same way on Windows, macOS, and Linux. Hear all about it on Talk Python.
The Modern Approach: Install uv, Then Python
The process is just two commands:
- Install uv (one command)
- Install Python with uv (one command)
That's it! Jump to your operating system to get started:
How to Install Python on Windows
Step 1. Install uv on Windows
Open PowerShell or Windows Terminal and run:
powershell -ExecutionPolicy ByPass -c "irm https://astral.sh/uv/install.ps1 | iex"
After installation completes, close and reopen your terminal for the changes to take effect.
Step 2. Install Python on Windows
Now install Python 3.14 with a single command:
uv python install 3.14 --default
The --default flag gives you a plain python command rather than only python3.14, so this becomes the Python you get from now on.
You'll see output like:
Installed Python 3.14.6 in 2.1s
 + cpython-3.14.6-windows-x86_64-none (python, python3, python3.14)
Your exact patch version and install time will differ. Python ships regular patch releases, so 3.14.7 or later is just as good. uv also prints a warning: noting that --default is experimental. That's expected, and nothing is wrong. The flag works; it just isn't finalized yet.
Step 3. Verify Python Works on Windows
python -V
You should see:
Python 3.14.6
If PowerShell says python isn't recognized, close and reopen your terminal so it picks up the updated PATH, then try again.
How to Install Python on macOS
Step 1. Install uv on macOS
Open the Terminal and run:
curl -LsSf https://astral.sh/uv/install.sh | sh
After installation completes, close and reopen your terminal for the changes to take effect.
Step 2. Install Python on macOS
Now install Python 3.14 with a single command:
uv python install 3.14 --default
The --default flag gives you a plain python command rather than only python3.14, so this becomes the Python you get from now on.
You'll see output like:
Installed Python 3.14.6 in 1.9s
 + cpython-3.14.6-macos-aarch64-none (python, python3, python3.14)
Your exact patch version and install time will differ. Python ships regular patch releases, so 3.14.7 or later is just as good. uv also prints a warning: noting that --default is experimental. That's expected, and nothing is wrong. The flag works; it just isn't finalized yet.
Step 3. Verify Python Works on macOS
python -V
You should see:
Python 3.14.6
If you get a command not found error, close and reopen your terminal so it picks up the updated PATH, then try again.
How to Install Python on Linux
Step 1. Install uv on Linux
Open a terminal and run:
curl -LsSf https://astral.sh/uv/install.sh | sh
After installation completes, close and reopen your terminal (or run source ~/.bashrc or source ~/.zshrc) for the changes to take effect.
Step 2. Install Python on Linux
Now install Python 3.14 with a single command:
uv python install 3.14 --default
The --default flag gives you a plain python command rather than only python3.14, so this becomes the Python you get from now on.
You'll see output like:
Installed Python 3.14.6 in 1.5s
 + cpython-3.14.6-linux-x86_64-gnu (python, python3, python3.14)
Your exact patch version and install time will differ. Python ships regular patch releases, so 3.14.7 or later is just as good. uv also prints a warning: noting that --default is experimental. That's expected, and nothing is wrong. The flag works; it just isn't finalized yet.
Step 3. Verify Python Works on Linux
python -V
You should see:
Python 3.14.6
If you get a command not found error, close and reopen your terminal (or run source ~/.bashrc or source ~/.zshrc) so it picks up the updated PATH, then try again.
You're all set! 🎉
Working with Python Projects
Once you have uv installed, you'll typically work within virtual environments for your projects. uv makes this simple:
Creating a Virtual Environment
Navigate to your project folder and run:
uv venv --python 3.14
This creates a .venv folder in your project. If Python 3.14 isn't already installed, uv will automatically download and install it for you. On a fast connection, this can take as little as 2-3 seconds.
Activating the Virtual Environment
Windows (PowerShell):
.venv\Scripts\Activate.ps1
macOS / Linux:
source .venv/bin/activate
Activating doesn't just make python available - it changes which interpreter python points to. Instead of the global 3.14 you installed earlier, you get this project's own Python, which can be an entirely different version:
python -V
In a project created with uv venv --python 3.12, that reports:
Python 3.12.13
When you're finished working on the project, run deactivate and python goes back to your global 3.14.
Installing Packages
With uv, installing packages is lightning fast:
uv pip install requests
Or add dependencies to a project:
uv add requests
Managing Multiple Python Versions
Need multiple Python versions? uv handles that too:
uv python install 3.12 3.13 3.14
Note there's no --default here. Only one version at a time can own the plain python command, so leave --default off when installing extra versions. Otherwise you'll quietly repoint python at whichever version you installed last. Each version is always reachable by its full name (python3.12, python3.13) regardless.
List installed versions, including any that came with your system:
uv python list
Create a virtual environment with a specific version:
uv venv --python 3.12
Want to move python to a different version later? Re-run the install with --default:
uv python install 3.13 --default
Why uv?
uv is developed by Astral, the creators of Ruff (the popular Python linter). It's designed to be:
- ⚡️ Blazing fast - 10-100x faster than pip (see Astral's benchmarks)
- 🐍 Python version manager - installs and manages Python itself
- 📦 Package manager - replaces pip, pip-tools, and virtualenv
- 🔒 Lockfile support - reproducible environments
- 🖥️ Cross-platform - works identically on Windows, macOS, and Linux
One tool. No complexity. Just Python.
Corrections and Improvements
If you find a problem or have a suggestion to make this page better, please open an issue on GitHub. Note that this is not intended for tech support but rather for genuine, broadly applicable improvements to the instructions: